Thursday, August 28, 2014

Paper Smooches August Blog Hop!

It's Pep Rally week and we are here today to share a sampling of the NEW Paper Smooches September release with you!  FOUR new stamps and EIGHT new dies will be available to purchase on September 1st.. You will find our new releases HERE.  
To add extra fun to our blog hop...we are offering up a prize!  The prize - a $25 gift code to choose what you like at the PS online store!

Here are the details:
  • FOUR winners will be chosen at RANDOM from any of the design team blogs and the PS Blog to win the $25. prize.
  • Just leave a comment on any of the design team blogs listed below or the PS blog for your chance to win!  (you do not need to comment on all blogs to qualify but it increases your changes) 
  • Deadline: You have until midnight MT on Sunday, August 31st to leave a comment. 
  • Please check the Paper Smooches blog on Monday, September 1st to see if you are one of the FOUR lucky winners.  
Here's the entire lineup if you get off track:

To increase your chances of winning:
  • Tell us that you Facebooked about our blog hop
  • Tell us that you Tweeted about our hop
  • Tell us that you posted on your blog about our blog hop
(which means that you have up to three extra chances to win on each blog)

Now to my card:)  Are you ready for Christmas?  I'm always ready for Christmas;)  So you know I was excited to use the fun new ornament dies!  This set has a bunch of little builder dies so you can create all kinds of round and shaped ornaments.  It even includes a little ornament hanger, so cute! 


I took out my foil card stock to create my ornament and couldn't resist adding a PS critter:)  The little Christmas mouse and sentiment are from the Santa Paws set.  And that cute little tree branch is from the new set Holly Jolly.  Here's a little close up of the reverse cut ornament...


Next on the hop is the fabulous Jocelyn Olson!  Love that gal!  Enjoy!

Mahalo,
jj
Smile with Avery Elle

Hi everyone!  Thursday means that I'm sharing another one of my Avery Elle cards:)  Today I'm using the cute mini #Smile set.  What better to pair the camera stamp with the smiley bear from Red & Goldie?


I cut my own "polaroid" frame using a 1" square punch.  I don't know if you can see it, but I carefully cut a line in the camera so that I could slip the picture into it.  I also fussy cut the lens and attached it with a little foam tape.  I love adding those little details:)


Until next time!  Thanks so much for stopping in!

Mahalo and Aloha,
jj

Studio Calico Poet Society Reveal!

It's the 27th of the month and that means reveal day at Studio Calico!!!   The new release is available right now!  I'm so excited to show you my cards from the main card kit Poet Society and two of the 5 stamp add-ons!  Yes, I said 5 stamp add-ons!  I was lucky to work with the new Rocket add-on set and the Jar add-on setLet's get to the cards!  My first card uses the just the main card kit!


This kit has a huge stack of papers and this one is one of my faves:)  I added a bit more gold with some misting and continued with the gold theme to create this triangle frame.  The triangles are actually the reverse cuts of a die cut of the large round gem.  I was going to use the gem die cut, but when I laid it all out, I really liked the look of the reverse cuts!


This next card also is from the main card kit.  This time I wanted to use the gigantic "hooray" sentiment (love it!) and the border stamps.  I did a technique that I call stacked stamping (if you're wondering, here's a tutorial on stacked stamping).


I love the fun graphic shapes of those stamps!


These next two cards use the Jar add-on set and the Rocket add-on set.  There's also a Cactus add-on, School add-on, and Circles add-on:)   I used two papers from the main card kit for this card.  The gray paper reminded me of slate and was perfect to create a chalkboard look.  


Don't you just love the sentiment in this set?  It's another One Canoe Two collaboration:)


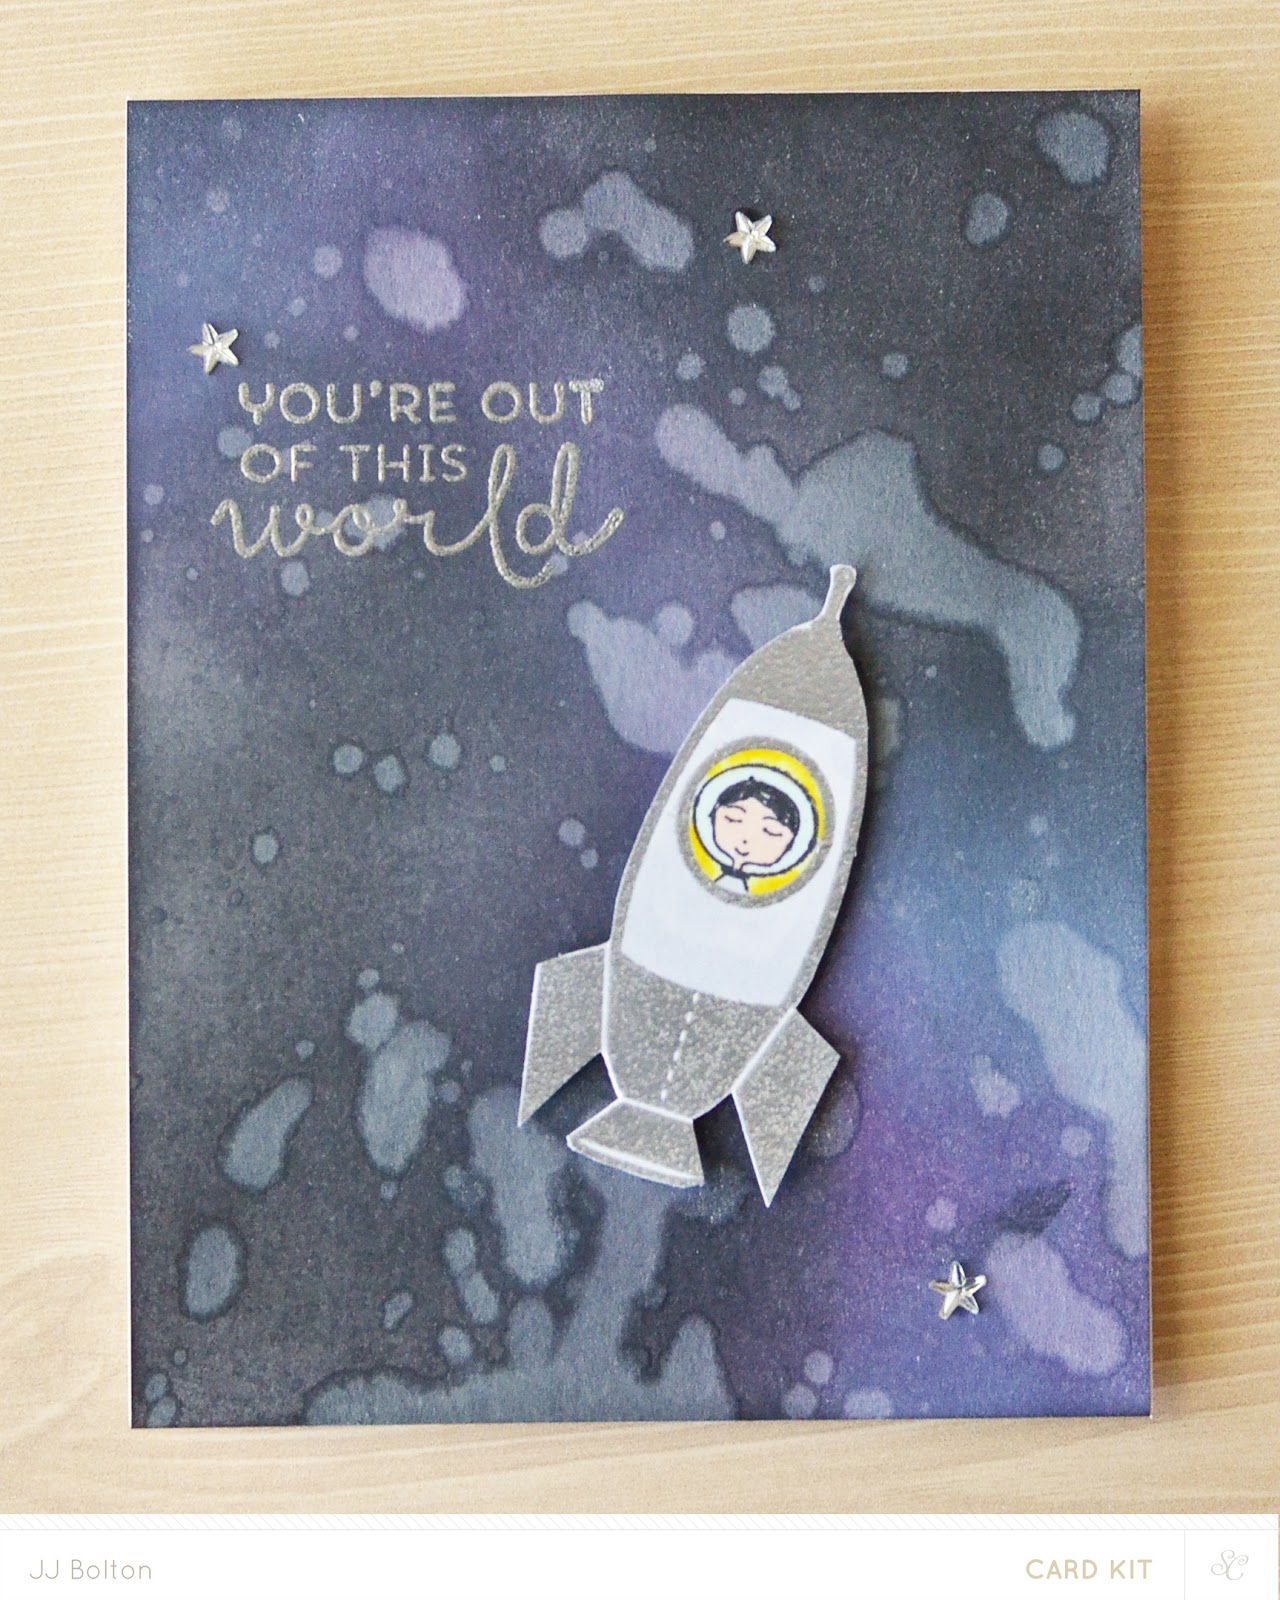
This last card I have to share uses the Rocket add-on set.  This set has a ton of little builder stamps to make all kinds of rocket-themed scenes.  I used a bit of Distress Ink and water to create a spacey background.   Then I added a silver heat-embossed rocket.  I love this fun little set!


That's it for me for today!  I hope you check out the entire release over at Studio Calico!  And stop in to the gallery to see all the goodies the Creative Team have put together!  

Mahalo and aloha,
jj


Tuesday, August 26, 2014

Studio Calico Poet Society Sneak Peeks!

Just sharing some sneak peeks of my Studio Calico Poet Society card kit projects!  

I won't totally spoil it for you, but if you love stamps, you will love the kits and add-ons!  See you tomorrow for the full reveal!  

Mahalo and aloha,
jj

Thursday, August 21, 2014

Aloha Thursday with Avery Elle

Hi everyone!  I've got a card today using one of my favorites from the summer release, Surf's Up!   This set is one of favorites for many reasons.  Obviously, it's a beach theme and I'm pretty much genetically programmed to love all things to do with the beach;)  Secondly, it reminds of the VW van that my parents bought when we lived in Germany when I was younger (army brat).  We traveled in that thing all over Europe and those memories stay with me even today!  

I started by creating a sunset background by blending my Distress Inks using a mask (I will be posting a cut file for my mask one of these days:).  I used Post-It tape to mask off the water and the sand.  The adorable little van was fussy cut and colored with Copics.  It's glued to the card with a bit of foam tape.  A couple tips, leave a little white space on the "water" to give that look of reflected sun and add a bit of shading under the van to give it more of a 3D look.  This is one of my favorite cards this year:) 


Until next time!  Thanks so much for stopping in!

Mahalo and Aloha,
jj

Friday, August 15, 2014

Happy Birthday Labels with Avery Elle

Good morning everyone!  Just stopping in with a sweet little birthday card:)  I used the Avery Elle set, So Happy, which has the sweetest handwritten sentiments.  This set is mostly sentiments but it also has the cutest little flower stamps that pair perfectly with the font of the sentiments.  Let's talk a little about the card...


I started by die cutting the tag using the largest of the Gift Tags dies.  Then I die cut 3 labels (using a die from the Custom Panels set) and stamped each with the sentiment.  The 3 labels are actual inlaid into the white tag and the whole piece is over the card base with foam tape.  Originally, I was just going to use the tags for this card, but I thought I'd up the sweet factor with a smattering of flowers:)  


Until next time!  Thanks so much for stopping in!

Mahalo and Aloha,
jj

Wednesday, August 13, 2014

Guesting on the Waffleflower Blog!

Hey everyone!  Today I'm guesting over on the Waffleflower blog, so I hope you take a looksie:)  Before you go, I want to show you another quickie project I did with my Waffleflower goodies!  How do you like my dog tags?  (Yes, I'm a dork! lol)


Who out there does gifts for their dogs?  They are family too, right?  We have a bunch of spoiled dogs in our family and for Christmas they do get a little something:)  When I saw the new Santa Add-on Tag die, I knew it would make great doggie collar tags!   


I personalized each tag with the new Be My Guest alpha stamps.  I have to say that Nina designed these alpha stamps to work perfectly!!!   I really appreciate that they fit together (easy to line up) and there are multiples of most letters.  So simple!  


Thanks so much for stopping in!  Go check out my other Waffleflower project on their blog!

Mahalo and Aloha,
jj

Thursday, August 7, 2014

Tag Mini Album with Avery Elle

Instead of my usual card, I'm sharing something a bit different today!  I used my Avery Elle Gift Tag dies and stamps to create this little mini album:)


Last month I helped my sister throw a spa party for my niece and it was a blast!  As a fun memento of the party, I've made these little mini albums for each of the guests.  I stamped and die cut gift tags using the new Avery Elle patterned paper and those were the front and back cover of the mini album.  


Then I die cut each picture (you can get 2 pics on an individual 4X6 photo) and backed it with a card stock die cut.  Here's a picture of the inside of the front "cover".  The perfect place to write a little note:)  Can't wait to pass these out!


Until next time!  Thanks so much for stopping in!

Mahalo and Aloha,
jj