Thursday, July 31, 2014

Perfect Paper Crafting & Avery Elle Week


It's Perfect Paper Crafting and Avery Elle week!  This week the Avery Elle design team is playing with many of Perfect Paper Crafting's most popular products such as their Perfect Layers tools and their Perfect AirBrush.  After visiting here, be sure to check out the Perfect Paper Crafting blog for even more inspiration!  Be sure to comment on our blogs throughout to week to be entered to win one of two prizes - a $50 Avery Elle Gift Certificate or a $50 Perfect Paper Crafting Gift Certificate!

And now for the card:)  This is one of those sneaky technique cards.  It *looks* easy.  After all, how hard can it be to cut a straight line.  Turns out, it is tricky to cut the banner triangles at an angle and have them perfectly staggered.  The job was made a 100X easier with my new ruler:)  


I started sewing way before I started paper crafting, so I'm pretty comfortable cutting fabric with a ruler and a rotary cutter.  When I first started paper crafting I used some of the same plastic rulers and my rotary cutter.  Turns out they don't work so well with paper.  So when I got a chance to work with the Perfect Ruler, I wasn't sure how I would fare.  I was happy to find that the metal edge of the ruler works fantastically with an Xacto knife.  Love the crisp cuts it gives.  Plus it has this gripper thing that stops the ruler from sliding around (another must when working with a sharp razor).  Here's a close up of the cuts.   


Don't those Avery Elle papers look so cute stacked together?   They really do go with anything:)

Don't forget to check out the Perfect Paper Crafting Blog and leave some comments on all the blog hop stops to get entered for a fun prize!  Hope you have a fantastic day!

Mahalo and Aloha,
jj

Sunday, July 27, 2014

Studio Calico Sandlot Reveal!

It's the 27th of the month and that means reveal day at Studio Calico!!!   The new release is available to subscribers right now, and will be available to everyone at midnight tonight.  I'm so excited to show you my cards from the main card kit Sandlot and the Squints add-on:)  If you're wondering, the names of the kits refer to the movie Sandlot.  It's a movie about kids and summer, so I'd say it's appropriate for these fun, bright kits, right?  Let's get to the cards!

My first card uses the main card kit...


How could I not make a shaker card from the gum ball machine stamp?  I stamped it and then used an Xacto knife to cut out the center.  I backed with acetate and filled it with sequin gum balls!  I layered my shaker over a thin border of teal and then over this fabulous paper!  I just love the paper in this kit!  I even added a little enamel dot for the turn handle.  


My next card uses another one of the fabulous papers in the kit. I fussy the pattern in this awesome paper and then applied it over a watercolor-painted card base.  I love the contrast of the black/white with the soft blue/green color.  The arrow strips are popped up on foam tape.  


Here's a closer look at that...


This next card also uses a bit of watercoloring with the stamps from the Squints add-on!  I heat embossed the small flower bud stamps in clear powder.  Then I watercolored over each one for a more abstract look.    


I love the softness of the stamps and the watercoloring!  


This last card is probably one of the favorites:)  The flower stamps in the Squints set has multi-step images.  That means you stamp the background and then stamp over the highlights.  I love, love, love these kinds of stamps!  For my card, I stamped the flowers in yellow and emerald.  The colors just pop over the black and white stripes, don't they?


Here's a tip for using multi-step stamps with only one color.  To get 2 versions of one color ink, stamp one image at full strength and one stamped off.  For my flowers, I used the stamped off version for the base and stamped over the highlights full-strength.  (Stamped off just means stamping your image on another piece of paper before stamping your image).  


That's it for me for today!  I hope you check out the entire release over at Studio Calico!  And stop in to the gallery to see all the goodies the Creative Team have put together!  The gals in the CT amaze me every single time!

Mahalo and aloha,
jj


Thursday, July 24, 2014

Dotted Banner Background with Avery Elle

Hello, hello, hello!  It's Thursday and that means I'm sharing my weekly Avery Elle project:)  Today I've got a super CAS card made with the new Dotted dies set!  This card is kind of a take on the inlaid die technique.  All of the die cuts are the same layer, just pieced together.  This card was made with just one of the banner dies in the set.  The tail ends just happen to fit perfectly together!

I thought about doing a rainbow version, but I thought I'd go subtle with a pure white background.  Maybe it's the heat of summer that makes me want to go cool white:)  Plus the white really makes the subtle texture of the dots stand out.  (I just now realized that I probably should have shot this card against a colored background.  Sorry that it looks so washed out!)


The totally white background is offset by the sentiment that I die cut with the Simply Said: Hello die in the new Avery Elle patterned paper (Brights collection).  Have you tried the new paper yet?  The patterns are so adorable and the classic patterns go with everything.  And I love that the paper is double-sided in two different colors!


That's all for me today!  Until next time!  Thanks so much for stopping in!

Mahalo and Aloha,
jj

Tuesday, July 22, 2014

Craft Room Revisit ~ Storage

Here I am today still talking about my craft room, lol!  Last day, I promise!  Today I'm talking about storage challenges.  There's a fine line between keeping something safe and keeping things handy.  If it's tucked away, you tend to forget about it.  But if it's all out in the open it can be overwhelming!  What to do, what to do?  Here are some challenges I've faced, what I ended up doing, and why:)

The first thing I'll talk about is paper storage.  I am a stickler about paper.  I hate to waste paper and will do everything to prevent warping and dinged corners.  I use a lot of heavy card stock (100 lb+ text weight like Avery Elle, PTI, Bazzill Card Shoppe) and this paper is so heavy that it needs to be stored a certain way otherwise it will bend on itself.  Nothing is sadder than a saggy card base.  I store this paper 2 ways: filing cabinet in hanging folders or laid flat in a paper rack.  Below is a picture of the hanging folders.  


Below is a picture of my paper rack where I keep my white card stock.  Since I converted over to this method, I've had zero problems with warped cards:)    For my lighter papers, I do use magazine holders that hold the paper upright, but those papers are usually glued to the card base, so I'm not as worried about bending.   


For my 12X12 papers, I recently picked up a metal rack made especially for 12X12 paper. Before I got the rack, I had them crammed into a plastic bin like this and I hardly ever pulled them out.  It was hard to see and organize, and I could only store a small amount of paper.  The new wire rack gives me enough storage (but not too much) and I can organize by color.  I'm happy to say, I've been using them a lot more and I have a lot let damage.  The racks can be pricey, but I've seen them at garage sales and Craigslist.  I got mine from a business closing sale.  


Now let's talk stamp storage:)  Clear stamp storage is a hot topic, lol!  (Really, it is!)  Everyone has their own method but this has really worked for me.  I am super lucky to be on the Avery Elle team for many reasons, least of which was being able to get in early with Avery Elle storage pockets!  When Jamie first debuted these pockets, I knew they would be a hit.  They are durable and for many of us, they work with the containers we were already using (a real bonus!).  I have always kept my clear stamps in Ikea DVD storage baskets.  They are sturdy, not see through, and were at a price point that I could live with.  Plus, they are made to fit the Ikea bookshelves I already had.  Lucky for me, they also fit the AE pockets very well!   


Each stamp set goes in it's own pocket with the original backer sheet (if I have it).  The backer sheet keeps things easier to see and you know who the maker is.  I recycled some old manila folders to create category separators between the stamps.  For all my stamps except PTI, I store by category.  I have always stored my PTI sets alphabetically by name, so I kept them that way.  Recently, I found some smaller square pockets that are made of the same material as the AE pockets.  I use them for my small stamp sets and dies.  The inside of the pocket is about 4-1/2" square.  These square pockets fit into the AE pockets too, so I can keep coordinating stamp/die sets together if I want.  Yay for a plan coming together!  I try to put a label at the top of each pocket.  Keeping it at the top makes it easier to flip through when they are in the baskets.  So far I've used this method for over a year and I really like it.  I even converted over my PTI stamps which were in the hard plastic CD cases.  So much better now!   


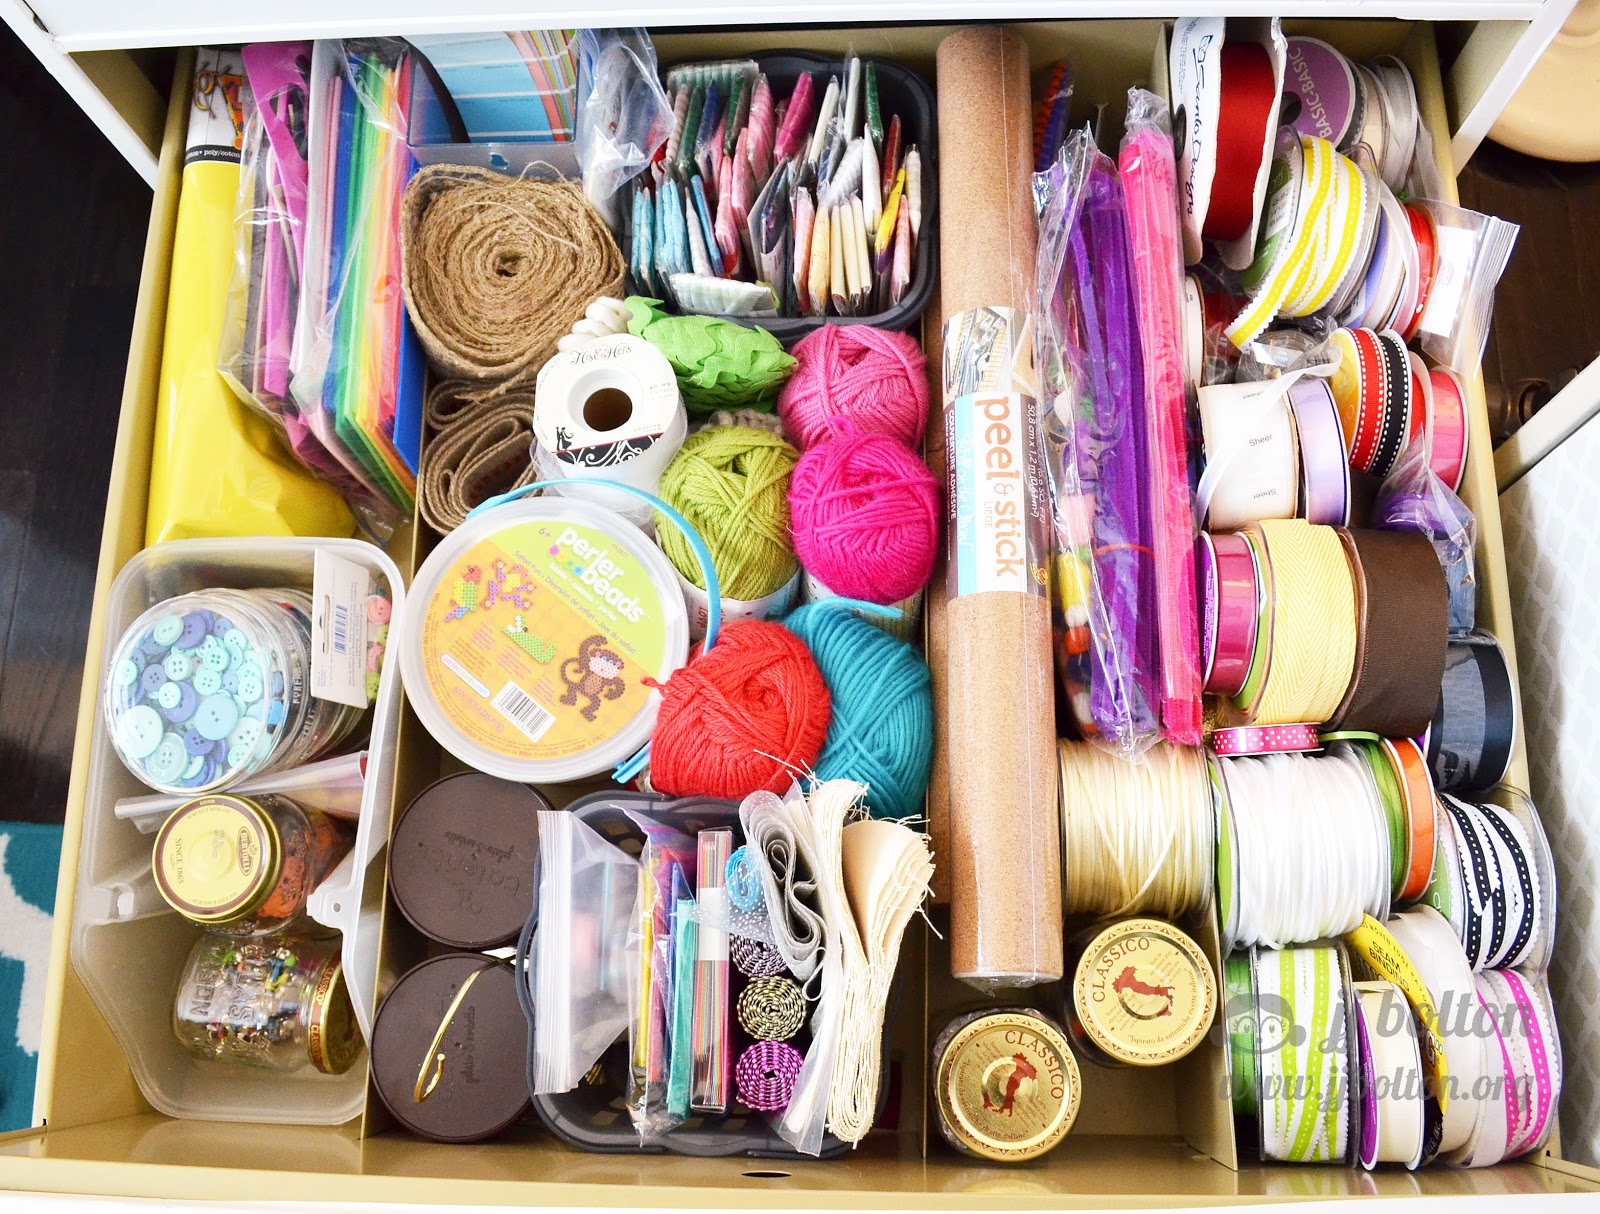
Now let's talk about my biggest storage challenge, embellishments!  I have had a terrible time with all the little bits and pieces!  Honestly, there are a 1000 ways to store embellies, and I do a hodge podge of them:)  I tried to give the most thought to those embellishments I use the most.   For me, that would be enamel dots and sequins.  For the enamel dots, I have a bunch in a basket in this drawer that I shared yesterday.  I also have them hanging (as shown in the pic below).  The plastic hooks from a store going out of business sale.  They are hung from the fronts of my magazine holders.  These are the same kind of hooks.  I believe the hooks are made for wire grids, but they can hook to drawer fronts, boxes, etc.  The best part is that they convert empty spaces to useful storage!  Plus, I like looking at all the goodies hanging like that:)  


Another issue I was having was storing sequins.  Recently, I started using small containers from the dollar store.  I think they are about 9 for a $1 (they're in the office supply section).  To label them, I taped one sequin to the top of the lid (along with a note on the maker).  All the containers live in the plastic drawers on my work table.  I love to use sequins and they were getting to be more trouble than they were worth when I stored them in small ziplock bags.  I also tried to use a container like this, but my sequins kept getting mixed up.  I still use the container, but now it stores wood veneers which don't seem to get mixed up (no static cling?).


Okay, one last thing before I go:)  I recently picked up these cool containers for my fingertip blenders at a local scrapbook fair.  I used to have them jumbled up in a drawer but now they are contained and labeled.  I've also updated the way I store my blending sponges that I use with my Tim Holtz blender (you know the wood handle with  velcro).  To make it easier to find the right sponges, I stuck 2 little pieces of velcro to the bottom of my Distress Inks to hold each blender.  I also label the sponges with a Sharpie since some of the colors are very similar.  No more accidental mixing of colors:)  

That's it for the craft room talk!  I probably bored most of you to tears (sorry!) but there may have been one or two of you who are facing the same issues as me:)  Thanks for hanging in there, lol!  

Have a great day!

Mahalo and Aloha,
jj


Monday, July 21, 2014

Craft Room Revisit ~ Work Table

I'm continuing my posts on the progress I've made in my craft room over the past year.  Yesterday, we toured the room, and today I'm talking about my work table.  Obviously, this is the most important piece in the whole room!  I've talked about this before, but the table is simply an inexpensive hollow core door from the local home improvement center on top of 2 steel cabinets.  The cabinets were salvaged by my dad from a fabric store going out of business.  They originally stored sewing patterns and I love how sturdy and spacious they are!  I covered them in white contact paper, but someday I hope to get them spray painted:) 

The overall size of the table is 32" deep, 80" wide, and 36" high.  I prefer to stand when I'm crafting, so this is a good height for me.  I keep a bar stool for the times when I want to sit and color or fussy cut.  The space between the cabinets is perfect for a kneehole when I'm not storing my cart.  If you intend on sitting at your craft table, make sure you have a place for your knees!  You'll thank me later;)

On top of my table, I keep everything that I use almost every single day.  That includes things like:
  • inks
  • acrylic blocks
  • tools
  • adhesives 
  • scissors
  • rulers
I use small drawer units like these on top of the table top to hold most of these items.  It's handy and keeps the visual clutter down.  I also keep my current DT stuff on my table top in baskets (those 3 baskets to the left).   


I also keep my Big Shot on my table top.  For me, I use it so often that it's a waste of time to put it away.  A person should NEVER spend more time preparing or cleaning up than actually crafting:)  

I also keep a couple of Ott lights on the table top for detail work.  These lights give off really good natural light which is nice when you're working with colors.  They can be pricey, but DO NOT pay full price.  They frequently go on deep sale at Joann's or Michael's.  Speaking of natural color, it's the reason the walls in my craft room remain white.  There's so many colors going on in the room as it is, adding another wall color was too much.  And I like that the color of my projects are not tinted by the surrounding color.  


Since last fall, I've added the Michael's shelf on the left.  It balances the ink storage and gives me a place to store things that are best standing up like inks, sprays, glues, etc.  The Organize More inkpad holders were my one big splurge in this room.  I waited for a sale (buy two with a discount) and they are worth every penny!  They fit most types of inkpads and I can even get a reinker in each cubbie as well. 

Over the past year, I've also picked through and reorganized each drawer below the work table.  Let's work through the cabinet drawers now, shall we?  The top left drawer used to look like this and it is mostly the same with a few additions;)  Dies are my weakness and I've added a few over the year (just a few;).  I've also added a few stencils which are a new thing for me!  This drawer is also where I store my Avery Elle stamp storage pockets and my new smaller stamp/die pockets (I'll show you those tomorrow).  I keep most of my dies in the small pockets, but I do have a bunch of loose PTI dies that I store in a small accordian folder like this.  I keep those separated by category (like flowers, home, office, words, etc.).  I used to keep dies on a a large magnet board, but I like having them categorized and with the maker's info. 


The next drawer used to look like this and now stores my glue gun stuff, extra adhesives, pens/pencils, extra ink refills, and a mix of other tools.  I've streamlined things a bit, I swear;)  


The bottom left drawer was empty last year and now contains what's left of my punches.  I've gotten rid of quite a few of those, but there are a few I still love and can't get rid of:) This drawer also contains my most-used embossing powders in dollar store plastic containers.  Using the containers really helps make the embossing powders last since you never have to throw out the excess. 


In the right side cabinet, the top drawer used to look like this.  It's since been picked through and cleaned up quite a bit.  As you can see, this is my embellishment drawer with enamel dots, rhinestones, threads, washi, wood veneers, and other little bits and bobs.  When I was reorganizing, I noticed that I had a lot of lovely things but many were not my style.  Now I try to resist purchasing just because things are pretty!  I have to think about what I'll actually use:)  As for the extras, I'm lucky that I have two little nieces who have no qualms about using every supply!  I thought it would be hard letting go, but it's fun to see the supplies get used!


In the next drawer (which used to look like this), I've got mostly the same things as last time: ribbon, cork, yarn.  Again, I pulled a bunch of extras to donate and to put in the craft box for my nieces.  For little stuff like beads and buttons, I recycle stuff like spaghetti jars and gelato containers.  I try to raid the recycle bin before I buy from the store.  If I do buy, it's usually from Ikea, dollar store, or the dollar spot at Target.  A note about containers.  Take time to plan out where you are going to use them and buy a few extra (especially if they will be visible containers).  Don't count on being able to go back and pick up a couple more.  Even if they carry the same item, there can be slight differences from lot to lot. 


This last drawer is a new addition to the craft room. It used to be mostly empty, but it stores my party and gifts/favors stuff.  Our new house has way more room to entertain than our last place, and we've been having folks over more frequently.  And with kids and work, there's always an occasion for a card or gift.  Having a place to store things means I can get better deals when things are on sale and I'm always prepared (in theory at least).


That's it for today!  it!  Tomorrow, I'll be back to talk about storage challenges:)  Have a great Monday!!!

Mahalo and Aloha,
jj

Sunday, July 20, 2014

Craft Room Revisit

So, we've been in our house almost a year now and I can say honestly say that the craft room has been worn in!  Not only do I use my office for crafting, it's also where I work from home once a week and where I manage the household business.  When we first moved in, this room was one of the first rooms to get set up and I blogged about it here last October.  Now that's I've had a chance to really live in the space, I thought I'd share a bit about the updates.  I don't know about you, but I enjoy a good craft room redo almost as much as I enjoy my crafting;)

Let's start off with a pic of the room on a normal day...


Let's talk about what's changed!  The work table is pretty much the same (before pic).  I've added the tabletop shelf unit on the left of the table.  I had my eye on that shelf at Michael's for awhile, but I didn't want to pay the full price.  I found one in the clearance aisle for really cheap and scooped it up (I think it may be discontinued).  This is a perfect place for sprays.  I've also rearranged what's in the drawers below, but I'll get to that in another post:)  For now, let's just say that I've made a concerted effort to keep what I use the most next to the work table.


Underneath the work table, I'm now storing my newly restocked Raskog cart.  The most significant change is that the cart now houses my Copics.  I used to store them on a shelf (before pic), but the cart is a 1000X more convenient.  I can wheel it where I feel like coloring.  

This next picture shows my tall filing cabinet (before pic) which is to the right of the work table.  It's mostly unchanged as well but I've added a small metal rack to hold my glitters/embossing powders.  I'll talk a little more about those in an upcoming post.  I also added the double high 12X12 paper rack next to the filing cabinet.  I got both the small black rack and the 12X12 rack from a local scrapbook store that went out of business:(  I'm sad that they closed down, but I like have a little piece of the store in my space:)


This next pic is one of two tall bookcases that flank the window to the left of the work table.  This bookcase still houses my stamps in Ikea DVD baskets (smaller Motorp), but I've also moved in a paper holder that keeps white card stock handy.  The rest of the card stock is in the file cabinet.  I really hate warped paper, so I always store my heavy card base papers laying down or in the file cabinet.  Next to this shelf of stamps, I keep my guillotine cutter and scoreboard.  Makes sense to keep your paper next to your cutters, right?  You'll also notice the colorful tower of mini drawers.  This is where I store my scraps by color.  Any scrap that is bigger than the drawer is cut into an A2-sized card base and put into the card base basket (next to the white paper).  I love this system!!!  Especially since I use scraps often to die cut letters or small pieces.  


Moving left from the bookshelf, the space in front of the window has been completely changed (before pic).  What used to be a hodge podge of plastic storage is now a bar-height table!  My tool bar, that is;)  This change was motivated by the desire to keep my Cameo and ScanNCut ready to use.  Ikea has a ton of inexpensive options to built a custom table and I was lucky enough to find a stock size that fit exactly between my bookshelves.  The tool bar is the permanent home to my Cameo and ScanNCut.  I don't know why I didn't do this sooner.  Yes, I give up a lot of table space, but I also get my money's worth out of those machines! 

When I got the bar table, I also picked up the awesome Alex drawer unit that lives beneath the table.  Maybe I shouldn't tell you my secrets, but the Ikea "As-Is" section is a hidden gem!  This particular piece was a display model and was half off and already assembled (can I get a woohoo?).  I'll talk a little more in another post why you need an Alex;)

You'll also notice that I pulled my old desk (before pic) under the tool bar.  I like that I can stow the small table completely under the bar table if I need to open the middle of the room.  This arrangement works now that I'm only using a laptop and the printer is networked.


Speaking of the printer, the last wall has been updated to the office/sewing wall (before pic).  I'm sure this wall could be improved, but for now, it's a fine place to store my office supplies and my sewing stuff.  I got the short cabinet from a thrift store and I want to paint it something bright like coral some day;).    


Over the next few days, I'm going to share some more details about my craft room.  I know it's just a craft room, but I've gotten a lot of questions about bits and pieces:)   

Thanks for stopping in and have a wonderful Sunday!

Mahalo and Aloha,
jj

Thursday, July 17, 2014

Avery Elle & Authentique Project Inspiration Blog Hop


It's Authentique and Avery Elle week!  This week the Avery Elle design team is playing with Authentique papers, Life Cards and embellishments.  After visiting here, be sure to check out the Authentique Blog for even more inspiration!  We have a fabulous prize up for grabs so be sure to comment on our blogs throughout to week to be entered to win!

For my card, I used a bunch of coordinating Authentique patterned papers to create a totally custom die cut panel!  Since some of the papers are pretty detailed, I went with the simple leaf shapes of the Modern Leaves dies .  I randomly cut a pattern and inlaid the pattern papers.  


For a few of the apertures, I backed them with simple vellum.  I struggled a bit of where I was going to put the sentiment.  It seemed like everywhere I chose, it competed with the patterned paper.  I finally ended up putting it on the card base behind the vellum.  I really like the soft look of the sentiment and the enamel dots behind the vellum.  The dreamy look goes well with the soft look of the papers.  


Don't forget to check out the Authentique Blog and leave some comments on all the blog hop stops to get entered for a fun prize!  Hope you have a fantastic day!

Mahalo and Aloha,
jj

Friday, July 11, 2014

Friday with Paper Smooches

How about some Paper Smooches goodies to start off the weekend?  Summer is in full swing here in the US, but I've got my eye on my favorite season with this first card.  I love everything about fall and the new Paper Smooches Seasonal Trees dies works perfectly for a fall card!  I die cut the tree from woodgrain paper and inlaid it into the sky panel.  For a little subtle texture, I reverse die cut the hill (Borders 1 die) at the bottom of the panel.  The green of the hill is blended ink on the card base.  It's a fun change to recess the hill instead of pop it up:)  The last step was to add a bunch of ink-blended leaves and a sentiment (from Hang Ups).


My second card uses the School Icons dies to create an easy anytime card that good for a girl or a guy:)  The "written" sentiment is one of the Hello dies which works perfectly with the pencil!  


That's it for me for now!  I hope you have a wonderful weekend!  Thanks so much for visiting:)

Mahalo and Aloha,
jj

Thursday, July 10, 2014

Layered Vellum with Avery Elle

Good morning everyone!  It's Thursday and that means sharing my weekly Avery Elle project:)  Today I've got a graphic card for you made with the new Signature dies!  This nested die set has so many possibilities!


For this card, I used 3 layers of colored vellum cut randomly with the different sized dies.  I layered the cuts so that different combinations of layers show through the apertures.   Love how it turned out! 


The last touch was the die cut sentiment using the Hello die from Avery Elle.  With all the color going on, I went with white on white:)

Until next time!  Thanks so much for stopping in!

Mahalo and Aloha,
jj

Tuesday, July 8, 2014

Playing along with Virginia's View Challenge

I have been a fan of the fabulous Virginia Lu for pretty much forever!  When I started making cards, Virginia was one of the first bloggers to catch my interest.  She stood out for her cards (which are awesome), but also for her encouraging words and positive attitude.  If there was such thing as a card ambassador, Virginia would be it!  So, of course, when she asked me if I would play along with her Virginia's View Challenge, it was a no brainer.  And even better, it's a die cutting challenge!  Woohoo!


For my card, I revisited the card of mine that Virginia featured in the challenge pic (see the  layered pink and blue flower medallion card in the top left corner?).  That card has 7 different layers.  Well, today's die cut card has one layer with 7 different die cuts!   I'm sure you've seen/done the inlaid die cut technique before.  This is the same thing X 7:)  

Supplies: PTI Stripes - Horizontal Cover Plate, Lovely Layers dies, W Plus 9 Fresh Cut Wreaths stamps

The first two cuts are for the background stripes in pink and white.  The one by one, I die cut the medallion starting with the largest purple piece.  In order, I did purple, gold, blue, strawberry pink, and light pink.  Here's a side look of the card that really shows the inlaid look!


So get on over to the challenge and join in the fun!  It runs until the 18th and they are even giving away some pretty awesome prizes:)  

Thanks Virginia for letting me play along!  You're the best!

Mahalo and Aloha,
jj


Friday, July 4, 2014

Happy 4th of July!

A big Happy 4th of July to all my US friends!  Even though I live just outside of Washington DC and have had my share of fireworks on the National Mall, I still equate 4th of July with small town parades and local fireworks.  I'm talking about the kind of parade where you sit on the curb and wave at the Strawberry Festival princesses going down main street riding in vintage convertibles.  Where the local politicians throw tootsie rolls to the kids from a golf cart.  I have waved at more scouts, baton-twirlers, cloggers, fire fighters, and folks leading farm animals than I care to admit.  And I loved every minute of it:)  [well, maybe except for the clowns;)]
No matter how you celebrate 4th of July, this card's for you!  

{Paper Smooches stamps/dies: Smarty Pants, My Guy, Metropolis, Autumn Groves}

Thanks so much for stopping in today! 

Mahalo and Aloha,
jj

Thursday, July 3, 2014

Happy Minions with Avery Elle

Good morning everyone!  I'm so happy to be here with one of my favorite cards this year:) I started this card by pulling out the new Avery Elle Happy die and stamps.  When I saw the die, I couldn't help thinking of the Pharrell Williams song "Happy" and that, of course, led me to the movie "Despicable Me".  And *that* is how this card got a minion;)  


The funny part is that I used one of the Bottle Up dies (the smaller of the tall bottles) to create my little minion.  The bottom of the bottle is just the right shape:)  To create the goggles/eyes, I used the circle dies from the Custom Panels dies set.  I double cut some silver metallic card stock to make the open circles for the goggles. I used some black enamel dots for his eyes:)   His mouth was cut by hand but you could also use a thick marker.  


I just realized I never gave my little guy some hair!  I'll have to draw those in later:)  My kids are a little too old for this card, but I know a certain preschooler with a birthday coming up and I hope she loves her little minion!

Until next time!  Thanks so much for stopping in!

Mahalo and Aloha,
jj