Showing posts with label embossing paste. Show all posts

Saturday, November 27, 2021

Papertrey Ink November Release

Hi everyone! It's been a busy Thanksgiving week here at our house, but I've got a couple cards to share using the new goodies from the Papertrey Ink November release! So many beautiful stamps and dies this month! I'm still finding new ways to use them all!

This first card uses the Adorning Trees stamp and die set. This set has a more modern feel to it with clean tree shapes. This set includes 3 tree frame dies that are perfect for making little shakers like this one. 

I'm really loving non-traditional colors for the holidays, but the more I look at this combo, it doesn't feel unusual! The combination is Royal Velvet purple and silver! For the background, I added stamped snowflakes and die cut snowflakes (from Border Bling Snowflakes and Starflakes). The beautiful sentiment is from the new Inside Greetings Heaven and Nature Sing set. 

This next card uses the new Holiday Cheer Gift Tag set and the Holiday Cheer Overlay set reinvented as gingerbread cookies!  I die cut the ornament, star, and tree dies with Kraft cardstock. Then I blended on ink to give them that baked glow. 


Then I added "frosting" using the Overlay dies to make stencils. (FYI, Picket Fences Paper Glaze Enhancer looks just like vanilla frosting). I added a little coarse glitter for sugar. I also made some jam filled cookies using dies from the Splendid Snowflakes set. Glitter gel makes great jam! 


I made a cover to mimic a decorative cookie box with cellophane window using the Love to Layer: Notched dies . Last but not least, I tied it up with twine and added a little tag with the perfect sentiment from the Just Sentiments: Holiday Tags Mini Stamp Set. This card was so much fun to make!

If you're looking for more inspiration, go check out all the new goodies now on the Papertrey Ink site!

Mahalo and aloha!
JJ


Sunday, October 11, 2015

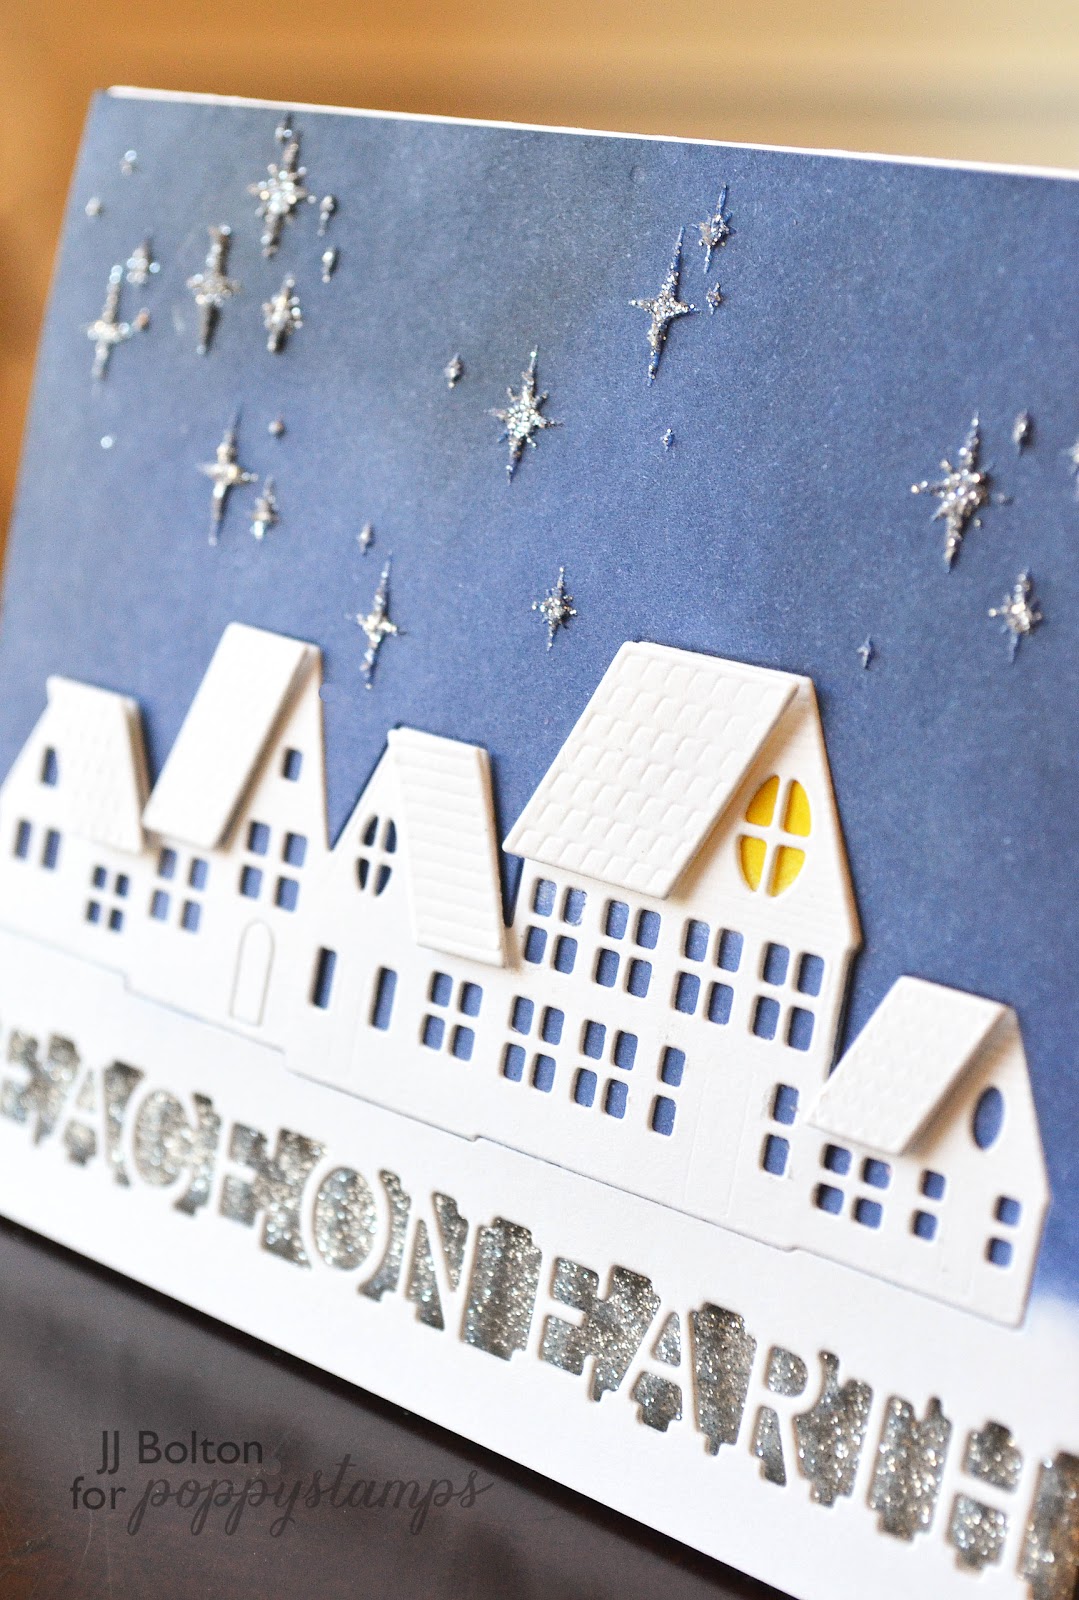
Poppystamps Blog Blitz ~ Peace on Earth


I've got one more card on the Poppystamps blog for the new release Blog Blitz!  This time I'm using the Peace on Earth Channel die and some adorable little houses!  

Aloha!
jj

P.S. Did you know that during the Poppystamps Blog Blitz, there is a giveaway for each post?  Just leave a comment on the separate blog posts for a chance to win!  Could not be easier!

Sunday, December 22, 2013

CAS Cards with Top Dog Dies

Hi everyone!  I'm doing a little guest design work for Top Dog Dies today.  Top Dog Dies is a new online store that offers their own brand of wafer-thin and steel-rule dies, along with dies from brands you already know and trust, including My Favorite Things, Sizzix, Savvy Stamps and Cheery Lynn Designs. Top Dog Dies is also the leading U.S. retailer for Tattered Lace, a new line of intricate dies designed by U.K. designer Stephanie Weightman.  Today, I wanted to share some quick and easy using the Top Dog Dies exclusives, Snowflake Trio Die Set and and the Ornament & Tag #2 Die Set!  Let's get started shall we?


The first card took me all of 5 minutes!  I die cut a large snowflake from blue glitter paper, threaded gold string through the holes of the snowflake, and tied it to the card.  It could not have been easier.  The beautiful snowflake takes center stage on this one!  Look at the detail on this die!  So intricate!


My second project is a simple tag using the ornament die and the small snowflake.  If you look closely, you'll see that the small snowflake is actually inlaid into the ornament die cut.  For the snowflake, I kept all the pieces together which gives it more of an embossed look.  This technique works especially well with metallic paper.


For my third card, I used the die cut and the reverse cut together.  I die cut a medium snowflake and backed the reverse cut with silvery glitter paper.  Then I put the positive cut back into place, but with the arms curled up to reveal more of the glitter.  The glitter backing really shows off the beauty of the detailed snowflake design.  


Last but not least, I used the ornament overlay die cut from the Ornament & Tag #2 Die Set as a stencil to create a 3D effect with molding paste and glitter.  The effect is really stunning! 


I put down the stencil and used an offset spatula (the kind you use to ice cakes) to lay on the paste.  After I pulled off the stencil, I sprinkled it with glitter and let dry.


To keep the ornament the focal point, it's attached to the card with strip of clear acetate which make it look like it's floating in the open aperture.  


Now I know that you may be done with your holiday cards, but all the techniques I used today can be used with any detailed die.  Thanks to Meagan and Top Dog Dies for letting me have fun with their wonderful dies!  It's been a real pleasure working with their beautiful designs!  

The folks at Top Dog Dies are also having a giveaway!  


Just go the link above (click on the graphic or click here) to register on this page to be eligible for the giveaway, but they can get extra entries by both commenting on your blog post and following us on our Facebook, Pinterest, Twitter and Instagram accounts.


Top Dog Dies is also offering a discount for my blog readers. Just use the code "MERRY" at checkout to receive a 10% discount on any purchase of $50 or more (good until 12/24). Treat yourself this Christmas;) Thank you so much for visiting today!

Mahalo and Aloha,
jj