Showing posts with label Silver. Show all posts

Friday, September 12, 2014

Friday with Paper Smooches

How about some Paper Smooches goodies to start off the weekend?  Let's start of with this card using the new Curly Clouds dies...


When I first saw these dies, I knew I wanted to make some "silver lining" cards.  First I used a Power Rays die cut as a mask to create the sunday background.  Then I reverse die cut the clouds into that panel.  Instead of inlaying the entire cloud, I just inlaid the silver outline of the cloud.  I added vellum to the back of each cloud and made little shakers for each of them.  I love the look of the large silver hexagon glitter behind the vellum.   Almost like the clouds are holding the raindrops!


This second card I have to show you today is a Christmas card.  I love all kinds of Christmas stamps and cards.  Traditional, modern, funny, fancy.  I enjoy and make all kinds, but I have to say that the new A Blessed Christmas stamp set has quickly become my go to set this year!  Sometimes, understated is the best:)  I stamped the holy family image and did very minimal coloring with Copics.  Then I masked it off and blended a silhouette of the Cityscape 1 behind.  Such an easy technique, but I love how it gives the city a soft glow.


That's it for me for now!  I hope you have a wonderful weekend!  Thanks so much for visiting:)

Mahalo and Aloha,
jj

Thursday, August 28, 2014

Paper Smooches August Blog Hop!

It's Pep Rally week and we are here today to share a sampling of the NEW Paper Smooches September release with you!  FOUR new stamps and EIGHT new dies will be available to purchase on September 1st.. You will find our new releases HERE.  
To add extra fun to our blog hop...we are offering up a prize!  The prize - a $25 gift code to choose what you like at the PS online store!

Here are the details:
  • FOUR winners will be chosen at RANDOM from any of the design team blogs and the PS Blog to win the $25. prize.
  • Just leave a comment on any of the design team blogs listed below or the PS blog for your chance to win!  (you do not need to comment on all blogs to qualify but it increases your changes) 
  • Deadline: You have until midnight MT on Sunday, August 31st to leave a comment. 
  • Please check the Paper Smooches blog on Monday, September 1st to see if you are one of the FOUR lucky winners.  
Here's the entire lineup if you get off track:

To increase your chances of winning:
  • Tell us that you Facebooked about our blog hop
  • Tell us that you Tweeted about our hop
  • Tell us that you posted on your blog about our blog hop
(which means that you have up to three extra chances to win on each blog)

Now to my card:)  Are you ready for Christmas?  I'm always ready for Christmas;)  So you know I was excited to use the fun new ornament dies!  This set has a bunch of little builder dies so you can create all kinds of round and shaped ornaments.  It even includes a little ornament hanger, so cute! 


I took out my foil card stock to create my ornament and couldn't resist adding a PS critter:)  The little Christmas mouse and sentiment are from the Santa Paws set.  And that cute little tree branch is from the new set Holly Jolly.  Here's a little close up of the reverse cut ornament...


Next on the hop is the fabulous Jocelyn Olson!  Love that gal!  Enjoy!

Mahalo,
jj

Friday, June 27, 2014

Studio Calico Penny Arcade Reveal!

It's the 27th of the month and that means reveal day at Studio Calico!!!   The new release is available to subscribers right now, and will be available to everyone at midnight tonight.  I'm so excited to show you my cards from the main card kit Penny Arcade and the Pinball add-on:)  Let's get to the cards, shall we?


I'm happy to report that the main card kit comes with a die!  I always get so excited when a die is included:) I used the banner die to create a graphic pattern and backed it with the pattern papers.  Actually, paper.  I used that first page of the pack that has a swatch of all the papers in the pack (what is that page even called?)  I feel like that is a bonus page and I love using it!


For my next card, I used the gnome stamp in the main card kit to create a snowglobe:) 


I colored the little guy with my Copic markers to match the fantastic papers!  Love the natural woodsy feel!


I couldn't resist making just one more card from the main kit.  I used that absolutely fantastic paper (can't get enough of Kal Barteski) to create a fun background.  I painted select words with my Mr. Huey's and I added a little gold wrap threaded with wood stars (so much goodness in that sentence;).  


How about some cards from the add-on, Pinball?  This set has some stunning stamps!  The design is another SC exclusive collaboration with One Canoe Two Letterpress!  But before I get to those stamps, let's talk silver labels and patterned paper!  For my first card, I cut some funky shapes from the patterned paper.  I layered them over and under a sheet of vellum and added a sentiment on a silver-edged label. 


Isn't that paper too much fun?  I love how the vellum gives the paper a different look:)


Last but certainly not least, my card using the sublime One Canoe Two stamps!  For this card, I played with layers again.  I stamped directly onto the card base.  Then I stamped onto patterned paper and fussy cut the petals.  I also created a diagonal panel for the sentiment that picks up a bit of the flower.  I love how the layers add interest but in a subtle way.


I was so busy fawning over the flowers, I didn't even mention the sentiments!  Oh my word.  They are so lovely.  Seriously, right?


That's it for me for today!  I hope you check out the entire release over at Studio Calico!  And stop in to the gallery to see all the goodies the Creative Team have put together!

Mahalo and aloha,
jj

P.S.  There's still time to get in on my SC giveaway here!  JJ

Wednesday, February 12, 2014

Sweet Stamp Shop Blog Hop

Hello everyone!  Today I'm playing along with the fun and talented gals from Sweet Stamp Shop:)  The head Sweet Stamper (the owner, Nicole) asked me if I would help debut 2 new stamp sets designed by Emily of Branch Out.  How could I not join in?  Emily designed 2 new sets, Announcing and Sparkle and Shine, that work really well together as you will see;)  Here's the first of 3 cards I have to share...


For this first card I used the gems from the Sparkle and Shine set to create a background design that I colored with Copics.  With a fun background, I don't like to cover it up too much, so vellum is the natural choice for the sentiment.  I heat embossed the sentiment (from another set, Too Hip) on to a strip of vellum.  I double layered the vellum to make the sentiment really stand out.  The whole panel was layered (off center) over a piece of silver metallic card stock.  


This next card is all about the bling!!!  Using masks, I made a single image of the banner loaded up with jewels.  I colored each jewel with a Copic and added a generous amount of glitter with my glitter brush.  I fussy cut the entire image to later glue to the card base.


 First I had to spray my card base with silver paint mist.  Here's a better look at how shiny and glittery it all turned out!  Sparkle and shine, indeed:)


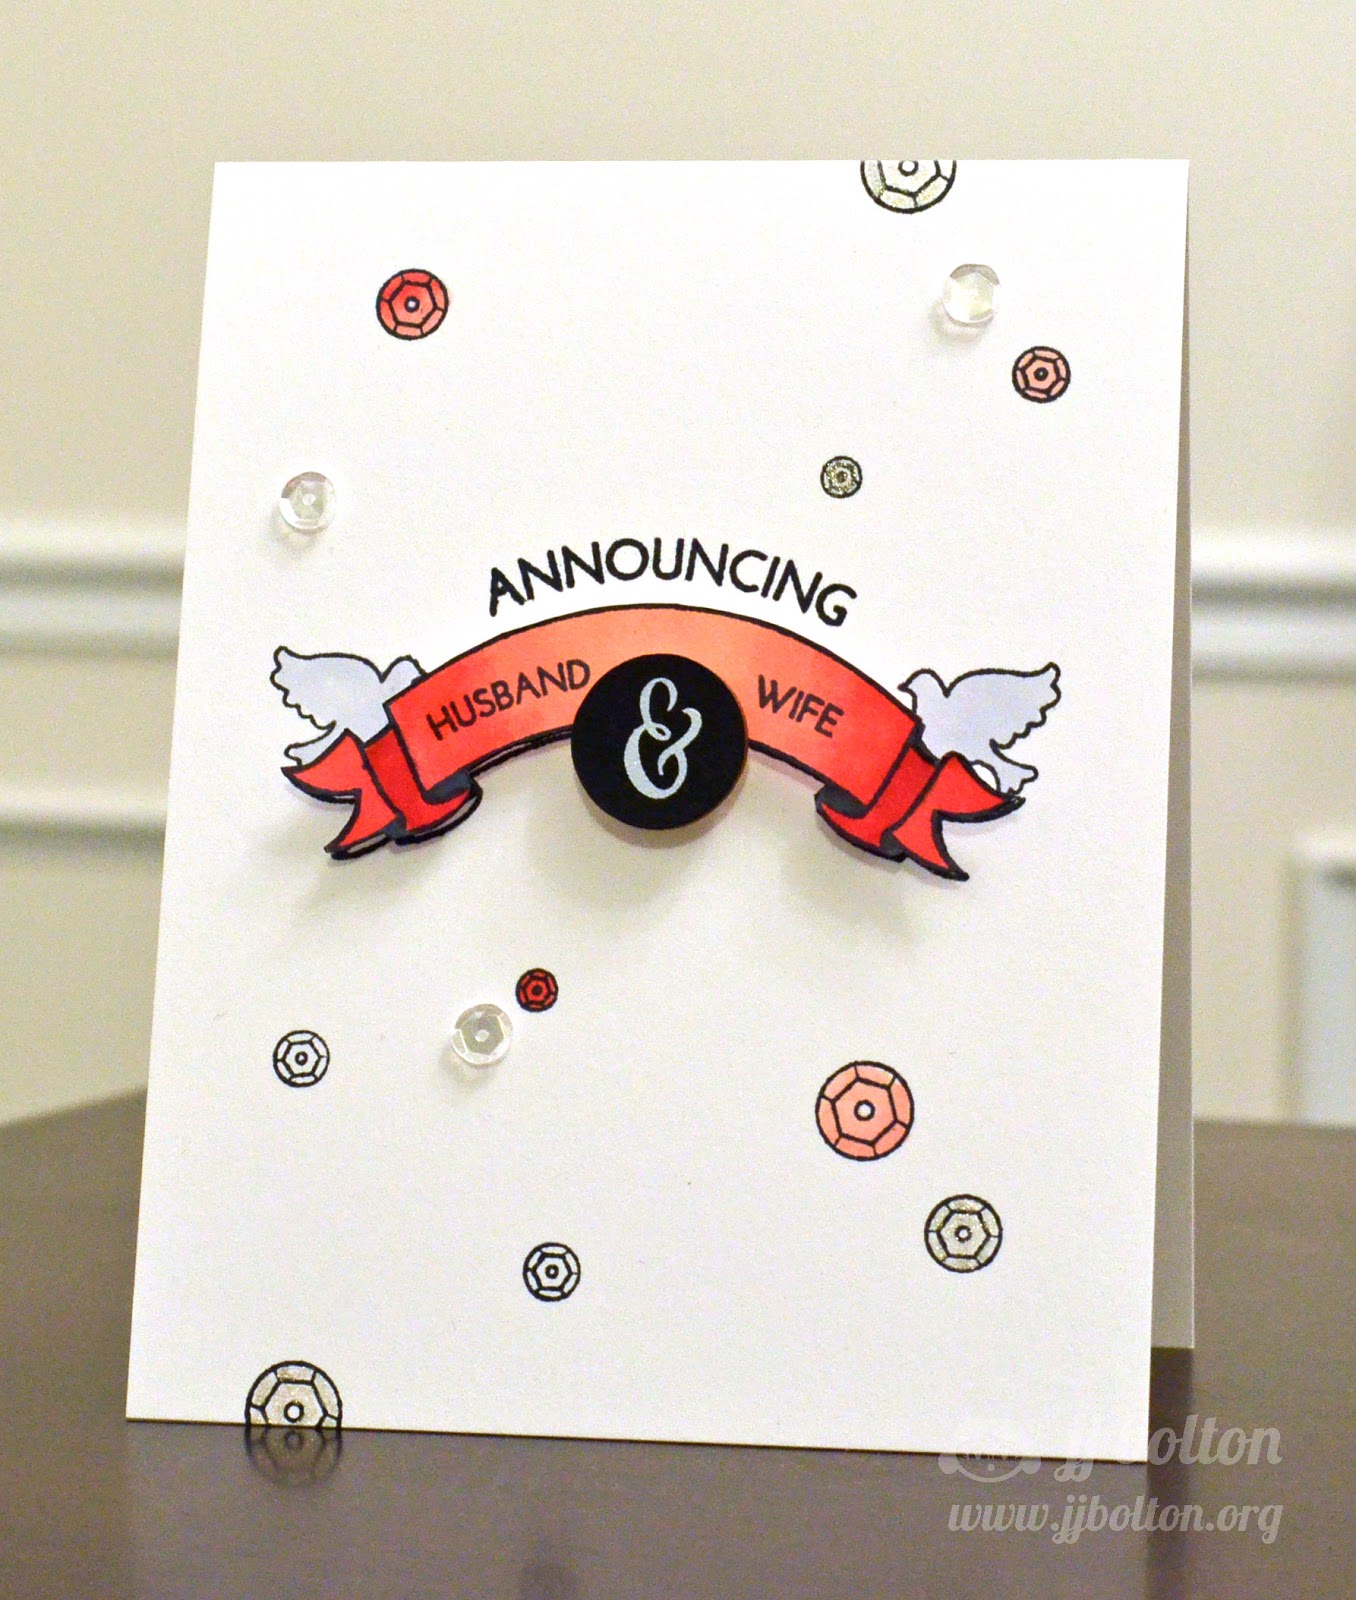
My last card to share pulls from both of Emily's sets again.  I stamped the banner and colored it with Copics.  Then I added stamped sequins all over the background.  Each sequin is colored with Copics or glitter pen.  


I added in there a couple of mirror sequins too:)


That's it for me today!  I hope you go check out all the Sweet Stamp Shop hoppers today!  Go to the Sweet Stamp Shop blog for the blog hop list.  Thank you so much to Nicole and Emily for having me:)  

Mahalo and Aloha,
jj

Supplies

You've Got Style:
White Card Stock
Vellum
Copics
White Embossing Powder
Silver Metallic Card Stock
Memento Tuxedo Black Ink

Sparkle + Shine:
White Card Stock
Copics
Silver Spray
Glitter Brush
Memento Tuxedo Black Ink


Announcing:
White Card Stock
Copics
Glitter Pen
Sequins
Memento Tuxedo Black Ink

Thursday, September 26, 2013

Avery Elle October/November Blog Hop

Click here to go to my STAMPtember post!


Good morning!!!  It's Avery Elle Blog Hop day and I'm sharing some new stamps and dies I designed for the October/November release:)  My new designs are add-ons to the Fill in the Blank stamps and dies from the last release.  The new Holiday Fill in the Blank stamps and Holiday Fill in the Blanks dies let you make all kinds of quick and fun holiday cards:)  Here's a look at the full sets (they are already up on the Avery Elle site by the way;). 


Every year I try to send handmade Christmas cards, but it's difficult striking a balance between keeping it handmade and not taking 3 months to finish your holiday cards;)  So each year I try to come up with something quick and easy to replicate but still a bit different than what you'd see at the local Hallmark.  This time I went modern and CAS with a gray (Fog) card stock base.  I glammed it up a bit with a strip of silver along the left side.  The rest is just a matter of die cut and filling in the blanks:)  Maybe this year, I'll actually be able to get my cards done on time!   


Thank you for stopping by today!  I do hope you stop by all the other Avery Elle blog hoppers!  This release is just so awesome!  Here's the blog line up if you've just started...
JJ Bolton (you are here:)

To celebrate the October/November Release Blog Hop, Avery Elle is giving away a $25 Gift Certificate to one random winner!  To enter to win just comment on this post.  There is no purchase necessary and you must be 18 years of age or older to enter.  This giveaway is void where prohibited.  You can also do options 2, 3, 4, 5 or all 6 of the following to increase your chances of winning. You have until midnight Sunday, September 29th to enter.  The winner will be announced on the Avery Elle Blog on Monday, September 30th.  All products are available for purchase in the Avery Elle store right now. 

To enter to win you can do 1, 2, 3, 4, 5 or all 6 of the following to increase your chances:
  1. Comment on any of the design team's posts and/or here on the Avery Elle Blog
  2. Follow us on Twitter and tweet the contest (we are @averyellestamps )
  3. Follow us on Facebook (we are www.facebook.com/AveryElle ) and share us with your friends - make sure they tell us you sent them.
  4. Follow us on Pinterest
  5. Become a blog follower through Feedly or Blog Lovin' (comment on the Avery Elle blog if you already follow us)
  6. Join our Flickr group (comment on the Avery Elle blog if you already belong)
Mahalo and Aloha,
jj

Monday, December 3, 2012

Avery Elle Release Day #3 ~ Knotty


Hi everyone!  I'm back for Avery Elle's release Day #3 and today's set is called Knotty!  These classic nautical designs are perfect for all kinds of occasions, but especially for Valentine's Day:)


I don't know about you, but my husband is the hardest person to make cards for!  And Valentine's Day cards?  Fuhgettaboutit!  I have no problem writing the sappiest message inside, I just have the hardest time with the outside.  How do you make a manly (lol) card that's not boring or blah?  Apparently, nautical is the answer!  Here's what I'm talking about...


I just love how this turned out.  Just enough detail to make me happy, and not too many as to be fussy!  The anchor image was stamped and the background colored with copics.  The porthole window was made using a pair of circle dies.  The rivets/nails are just "holes" punched with a small hole punch from the same woodgrain paper and glued around the window ring.  {Note: A little tip for stamping on textured paper.  Stamp on the back side, the smoother side.  This tip really comes in handy when you're having a hard time matching cardstock colors!}  Got time for another masculine nautical card?


This time I used the compass rose stamp to create a 3D compass!  Again, I used my circle dies to create a metallic case for my compass.  It's hard to see, but the ring is made from shiny silver paper.  I hand cut a little compass needle and it's popped up on some foam over the face of the compass.  For a more 3D look, I used a ring of black foam under the silver compass ring (looks great from the side).  Much simpler to make than it sounds!  Kind of reminds me of a cool swiss army watch.  I think hubby would approve!  

That's it for me today!  Thanks for stopping by!  I hope you click on over to these links to see the fantastic projects Jamie, Kasia, and Chunyuan have made with this set:)

Jamie Gracz (Avery Elle blog)

I'll be back on tomorrow with one more release!  Don't forget that Jamie is offering the chance to win a $25 store credit!  All the details are on the Avery Elle blog!   The new release items will be available to purchase on December 5th on the Avery Elle site!

Mahalo and Aloha,
jj

Avery Elle Supplies:
Knotty stamp set (will be available December 5th)
Cherry red card stock
Ultra Pure Smooth White card stock
New Moon black card stock
Fog gray card stock